Labels

3D Printing (25) 40K (62) Abyssal Dwarf (2) accessories (5) Adeptus Arbites (4) Adeptus Mechanicus (1) ADMech (1) Age of Sigmar (2) Agents of the Imperium (2) Angron (2) Anime (4) Antenocitis Workshop (32) Anvil Industries (5) AoS (4) ArmorCast (3) Army (4) Army Painter (10) Astra Militaria (24) Atenociti's Workshop (7) Atenocity (1) Atlantis Miniatures (4) Avatars of War (2) banner (4) base coat (16) base color (8) bases (45) Basilean (1) Battlefoam (1) Beasts (2) big lobbas (1) Bitspudlo (1) Black Scorpion (1) Black Templar (1) Blood Rain (16) Board Games (32) Bolt Action (1) Bombshell (1) Bones (14) Bretonnian (1) Bruegleburg (4) Bruxx (2) Campaign (20) carapace (1) Carnevale (8) chaos (25) Chaos Dwarf (2) chaos gate (3) Chaos Space Marines (18) Citadel (2) claw (1) Clawed Fiends (1) clear resin (1) Construction Guide (1) Contagion (12) conversion (3) Counts as (25) Craftworld Eldar (2) Custome Counters (2) Customeeple (1) Daemon Prince (4) Daemonettes (1) Daemons (5) Dark Angels (4) Dark Eldar (47) Dark Elf (6) Dark Souls (7) Darkness & Light (3) Darksword (2) Deadzone (15) Death Guard (9) decals (1) Deepcut Studios (3) Demented Games (3) dicebox (1) Dorothy (2) dragon (2) Dreadnought (5) Dreadtober (5) Drukhari (2) Dryad (1) Duncan "Shadow" Louca (1) Dwarf (7) epicast (2) Evangelion (3) Executrix (1) eyes (2) Fallout Wasteland Warfare (11) Fantasy Battles (19) Fast Panda (3) FBN (1) Fight Like a Girl (1) Finecast (4) Flames of War (4) Fluff (14) Forest Goblins (2) forge world (50) fortress (8) fortress name (2) Forward Base (10) free hand (1) Frostgrave (8) Game Mats (3) game room (1) Games Workshop (13) gamesday 2011 (1) gargantuan squiggoth (8) Geekfest 2010 (1) Geekfest 2011 (4) ghouls (1) Gloomhaven (1) Goblins (2) gobsmasha (1) golden demon (1) Greasus Goldtooth (2) greenstuff (10) Greenstuff World (1) Grotesques (3) Guest Painter (3) gunwagon (1) GW (8) GW Technical Paint (11) Halo Fleet Battles (1) Harlequin (1) Heresy Girls (5) Heresy Suppression Force (10) Hexy-Shop (1) Hi-Tech (2) highlight (2) horror (1) Imperial Guard (23) Infinity (23) Inquisition (4) Iron Empire (17) Iron Halo (1) Jailbirds (35) Joan of Arc (3) JR Miniatures (1) juggernaut (10) khorne (1) Kickstarter (43) Kill Team (1) Kingdom Death (17) Kings of War (9) Kromlech (3) KST (4) Kurganova (3) Land Raider (1) Large Scale (4) Lead Adventurers (3) legacy models (2) lighting (7) Lizardman (1) Lost Islands KS (2) lust elves (12) made for Infinity (33) Malice (1) Malifaux (13) Mantic (37) mawloc (1) max mini (2) MDF (28) mecha (3) Mechanicum (1) Mercenary Grots (1) Metallic (1) Miniature Figure Painting (7) miniature wargames scenery (3) model building (4) Modiphius (2) Mordheim (24) Movement Trays (1) moving (6) Mystery (4) Mythic Games (1) names of things (14) narratives (22) Necrons (3) Night Goblins (1) Nose Art (1) Nurgle (16) objective markers (2) Obliterators (2) Ogre Kingdoms (6) Oldhammer (4) orange (1) Orcs (1) ork (26) osl (2) P3 (1) Patreon (1) Plague (1) Plastic (4) Post Apocalypse (8) Pre-Heresy (2) Primarch (2) Primer (6) Privateer Press (1) Project Thunderhawk (28) prototyping (1) Proxies (24) ptimer (1) Rackham (2) Raging Heroes (125) Rampage (6) Ravager (1) razorwing (1) Realm of Chaos (1) Reaper (34) red (25) repair (6) resin (28) Resurrectionist (2) Resurrectionists (1) Retinue (1) review (1) ripper swarm (6) ripperswarm (1) Roleplaying (1) RPG (31) runtbot (7) Sacred Heart (1) scatter (7) Sci-Fi Space Battles (6) Scibor (2) Secret Weapon (77) Serene Dawn (12) Setting the scene (23) Shading (1) Silver Compass Designs (1) Sisters of Battle (25) Sisters of Eternal Mercy (11) Sisters of Sigmar (4) Skaven (4) Skin (2) Skirmish Game (8) Slaanesh (1) Slann (1) SnapMaker (5) Spartan Games (1) Sslyth (1) Star Saga (32) Starfinder (4) Steampunk (2) stl (1) Stone Crusher (3) Strigoi (1) studio (1) Studio Miniatures (1) Studio Swelter (4) SUPERCaT (1) Supers (1) Tabletop (9) Tabletop Art (3) Tabletop World (36) tank pit (1) Tantalus (6) Terminator (2) terrain (58) TGG (20) TGG the Game (3) TGG2 (22) The Dickensians (2) The Old World (2) The Order of Vampire Hunters (13) The World That Was (1) Theme (33) Third Party conversion bits (1) Thor Minatures (1) Thousand Sons (1) thunderhawk (3) Titanite Demon (1) tools (2) Toughest Girls in the Galaxy (9) Toughest Girls of the Galaxy (6) Toughest Girls of the Galaxy 2 (7) trukk (3) tutorial (2) Twisted (7) tyranid (12) UAF (1) Ubiquitous Rat (1) unboxing (4) Undead (2) undercoats (4) Undertown (15) Unwritten (5) Urkin (1) Vallejo (5) Vampire Counts (4) Vampire Hunter (2) Vampires (1) Vampiric Flesh (1) Vanguard (4) varnish (2) Vatican (3) vehicle (13) Venom (3) Video (1) Vikings (1) Void Elf (17) Void Elves (15) War Machine (1) War World Scenics (1) Warbands (3) Warchimera (3) Warhammer (13) warhammer the old world (1) Warpath (18) wash (33) water effects (17) weathering (61) weathering powder (14) WFB (1) WH40K (40) WHFB (14) WiP (22) Witch Hunters (5) wood (2) Wood Elf (4) World Eaters (2) Wracks (1) wraiths (1) WW2 (1) Wyrd (5) yellow (1) Ynnari (5) Zoggit (1) zombies (1)
Showing posts with label accessories. Show all posts

Thursday, May 17, 2018

Dice Box of Death: 3D printing with Snapmaker

 More adventures in 3D printing with the Snapmaker.

As I'm specifically not allowed to touch my wife's dice because I might transfer my abysmal dice rolling luck to her set... I decided to print up the Dice Box of Death!

In spite of the title its not at all related to Kingdom Death... although protecting the purity of the dice for that game will be the box's first job.

The box is shown here with our Canoness Veridyan for scale.
 This print is at high quality due to the fiddly details of the bone walls and alcoves.  The white PLA material took paint well and seems pretty stable... if I don't leave it out in the direct sun!

I remember seeing the casket of the three wise men in the cathedral in Koln and the casket/handle for the box is painted to resemble it.  Its a minor modification of my most recent yellow metal process; Brass Casings (SW), Flesh Wash (SW), Brass Casings (SW) again, and Shining Gold (GW).  I left of the final highlight step of Rustungs Farbe (a bright silver metal color made for Fantasy Forest) to get a better separation between it and the metallic straps on the wood.
 The Bones were Tan Earth (Vallejo), Dirty Bone (Reaper) + Tan Earth 50/50, Dirty Bone (Reaper, Graveyard Earth (Reaper), Splintered Bone (Reaper).

The Wood is my regular wood process as described here.

Stone is a simple dry-brush over black using the Reaper Stone triad.
About the Snapmaker.

I got this from a kickstarter to experiment with 3D printing, Laser Engraving, and CNC.  The machine is transformable to do all three operations.

After several weeks of working with this machine I've discovered several things:

On the plus side:

It was easy to assemble.
The machine makes good quality prints.
The Snapmaker Shredder software, while short on features, is easy to use and is very helpful when dealing with a build area as small as this.

On the minus side:

1. The machine has a petite, as in on the small side of small, build area.  As you can see the Dice Box of Death fully covered the build area.  This has been a problem with some kickstarters... even the excellent Rampage range which offers a "Small Printer Format" option for most, if not all, of its STL files.  Even with that many models are not printable without resizing downward. I'm going to contact Rampage and ask about a "Petite" option but it'll be an ongoing problem. On the plus side the Snapmaker shredder software is designed for this petite build area and warns the operator when the model size exceeds the capacity of the build area.

2. The modular design and all aluminum body were attractive to me because I move often and would need to break down the machine and re assemble it post move.  Unfortunately the fasteners are poorly designed and often not actually anchored to anything so, for example, a screw holding the lower cooling fan just fell out onto the print during operation.  The print head impacted the screw which unseated the print bed. The print bed is no longer as stable as it was, has to be checked for position prior to printing, and is prone to slip.  I'll have to break it all down and see if its re-seatable.

3. The filament feed system is a twitchy and I had to disassemble the print module to get the filament to feed the first time.  During this process I discovered that the cooling fan screws are not anchored to anything and take advantage of the cooling fin spacing for traction... this traction disappears the first time the screw is removed and, since the cooling fins get hot, you have to consider that when coming up with alternative ways to seat the screws. There are effectively no guides for the filament but with practice, once understanding the interior geometry, the filament has change has become more manageable.

4. The enclosure is a nightmare!

Let me say that again... The enclosure is a nightmare!

90% of the problems I have with the machine so far are due to the design of the enclosure.

Some examples:

 The metal tabs are brittle and easily broken during assembly.  I only broke one and had to glue the support in place.  This isn't a major problem for a permanent location but kind of defeats my goal of re-locatability.

The filament feed tube is plastic and during normal operation can easily come into contact with a hot part of the machine.  This happened to me.  The tube melted onto the filament which eventually broke off very close to the print head which then had to be changed.  To change the print head requires loosening a small set screw that, in normal operation, becomes filled with PLA material.  The screw is made of low quality material and is easily stripped when trying to loosen it.

Basically any interaction with the machine, from transformation to filament changes, is made much more difficult by the enclosure.  The one advantage the enclosure has is that it does reduce the noise level.  Having the enclosure actively assault the machine is a pretty high price to pay for a little less noise.

Wednesday, August 17, 2016

Tabletop Art on the road

We've arrived in Romania!

Of course, we're holed up in a hotel while getting the house hunting, residency permits, car details.... phone... etc... all sorted.


I did manage to get a travel kit together and these are the first results.

At right are some terrain pieces from Secret Weapon.  They are great transformer/generators and large enough to provide cover in any system.

I got them in a "Bag of Crap" which is basically an assortment of the miscasts and seconds that Secret Weapon periodically bags up and sells for a song.  These had some air bubbles on the underside that I pilled with putty and they'll see plenty of years on the tabletop.

At left are some accessories from Tabletop Art that I picked up at a shop in Saarbrucken.  I'm really impressed with the quality of the casting, the crisp details, and the very paintable resin material.

Since we're in a hotel and there is very little ventilation possible I used brush on primers and sealers from Vallejo.


Finally... I remembered to include a mini for scale!  This one is one of the new renditions of the Mantis Warriors (WiP) from Raging Heroes TGG2 Kickstarter that just arrived on the last day that I got mail at my old address!  That was a bit of luck!

We had a bit of a scare on the way here as I somehow managed to leave the whole of the unpainted TGG1 kickstarter, and a Dwarf Mega Army from Mantic.... and some other stuff..... wow in the hotel room! I remembered it as we were fueling up and returned after 40 minutes to find that one of the maids had rescued it and stashed it for us.... lesson of the day .... remember to chat with, and to tip, the maids!  She really went above and beyond to save me from a disaster.

Friday, October 24, 2014

Mad Nurse Bernadette, One Shot Blondie, and a Town Square


 Its been a busy couple of weeks.  Today we get a visit from Mad Nurse Bernadette!

This was one of the minis in the Raging Heroes TGG Kickstarter that really grabbed attention.  Inspired by an old Album cover  she is one of several nurse/medics offered in the KS.   Here she is paired with my second iteration of One-Shot Blondie.

The sculpt is very striking and the only construction challenge is the fore arm join which requires a bit of filling.  Once again RH demonstrates their great feel for style with a simple but iconic pose.

 This iteration of Blondie shares a lot of color elements with this Bernadette and I'm liking the "Combat Blue Jeans" look for Post Apocalypse style.  I've a couple more Bernadettes on the table at the moment each with different take on color but they should all mix well in any of the jailbird units.

I used a lot of Secret Weapon stuff on this batch... from bases to their washes.  I'm getting a better grip on using these washes, which are a lot more heavily... and coarsely... pigmented than their GW or Army Painter counterparts.
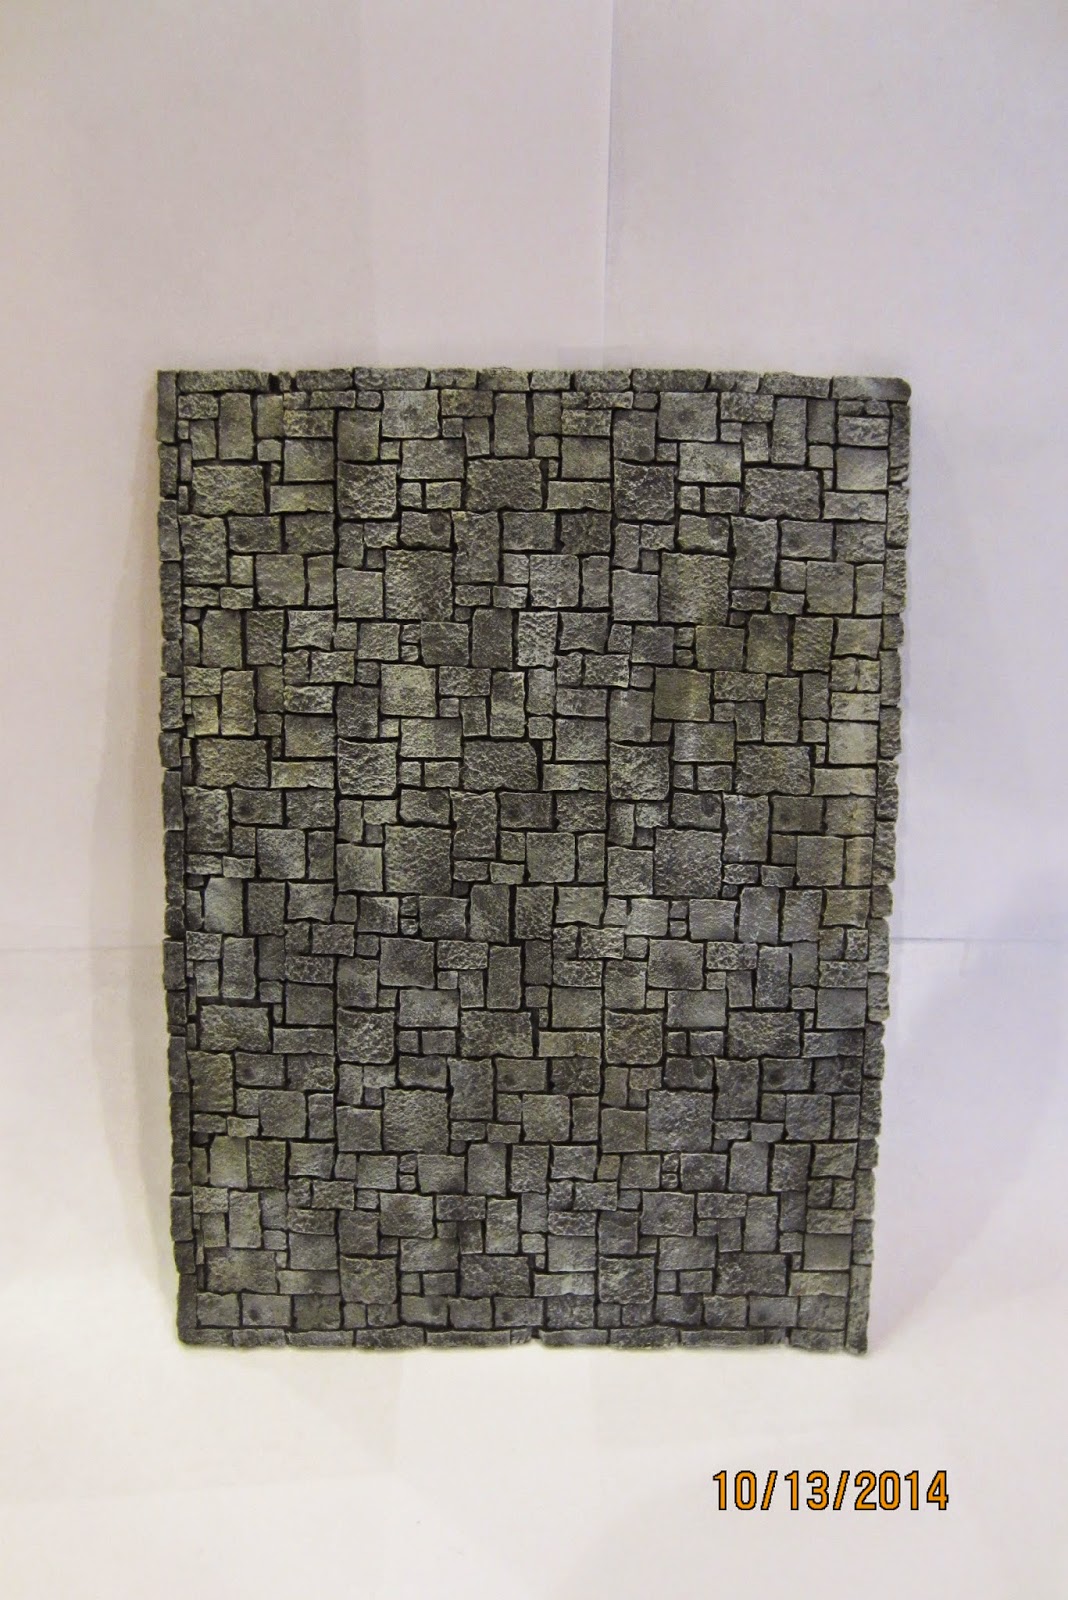
From Tabletop World I discovered this Town Square stuck in a box of paints.  I brushed it up with the same sort of stone gray as the buildings and discolored many areas with various washes to get a sort of greasy, well used look.  I opted to not use powders and grass fills in the crevices as this piece will get a lot of traffic in different configurations.

Below you can see it forming the basis for the Merchant Shop with a minis thrown in for scale.

Next on the plate.... completing batch 2 of the Lulus, grabbing another TTW building at random from the pile... and starting cleanup on some Malifaux 2e Death Marshals.

Fun fun fun!

Thursday, September 25, 2014

Tabletop World Merchant Goods

Lets just get this out of the way... Tabletop world makes great stuff!   Here is an example.  These are the 'Merchant Goods' package that I added to my order of the 'Merchant Shop'.  Wow!  its a really big assortment of highly detailed goods... the veggies, fruits, sausages and even fish can be identified quite clearly... no indistinct lumps here.

These, as is typical of my TTW experience so far, required zero clean up... I mean zero.  I washed these and went to painting them straight out of the box. Totally worth the price tag.  This is really a big deal for me as it dramatically reduced the time it took... imagine cleaning all these... hours for me anyway.  As it turns out it took just three sessions to knock out the whole set. 

I decided to approach these with washes over a white primer base as I've been struggling with paint thickness recently.  Here I did thin base coats of paint followed by layers of washes and a glaze here or there.
 A view of the goods together with the shop.  I'm anxious to do the cobblestone 'Town Square' and put it all up on a terrain board.  The Bevie will likely be subjected to a furious round of Mordheim in the near future!

... provided, of course, I locate the Mordheim minis.... DOH!

With the exception of the plums... which I inexplicably forgot to detail the stems and leaves... I spent a bit of time reveling in the detail of the individual elements.  I really like the corn cob colors and the fish... though the pumpkins  and cabbages also came out pretty well.

Sunday, September 18, 2011

Laser Etched Counters painting tutorial


After seeing the amazing custom laser etched counter sets that Silver Compass Designs put together for the Heroes of Armageddon charity event I decided to look into getting some of them for my own armies. 

I sent Pete an email and learned that they don't really have any standard packages.  Most sets are completely custom!  He was very helpful and gave me some ideas about where to start with designing a set and made sure I was aware that EVERYTHING about the set could be customized.  There is no requirement, for example, that the tokens be of any particular shape and the lasers can do incredibly fine detail so practically anything could be put on them in terms of designs or text.

Caught up in a frenzy of design I came up with counter sets for My Orks "Da Big Red WAAAGH!" and my Dark Eldar "Blood Rain Kabal".  Pete managed to convert my eccentric sketches into polished art and shapes on the first go round.  He even added my Kabal rune to their new three part pain tokens so they would match my theme!

The design process was a lot more fun than I imagined it would be and I'll be doing it again in the near future with a counter set for the Tyranids.

I got the two sets a couple of days ago and immediately set to work on the Ork set just to see how it shook out.  It looks like it'll take me the better part of a week each to get them set up.  I could knock them out in a basic way in a day or two but decided to run a bit amok with the painting!

Of course I'll be posting a picture of each of the completed sets as I finish them.  The Ork set is over 200 counters and the Dark Eldar set is 166 counters so they'll take just a bit to get up to speed.  You could do effective sets at much lower numbers of counters.  These are large sets because  I really liked the large sets that came with the Heroes of Armageddon armies.. and because the design process was so much fun!

I've also added a tutorial page with a detailed tutorial of how I painted these... check it out!

Silver Compass is also putting together Laser etched custom dice where all the faces can be customized.  Having seen a couple of samples I'm looking forward to those as well.

Of course I had to have something cool to carry my awesome counters in so I got looking for something appropriate and found it at Marsbarn Designs.

The Skull bag is a square bottom dice bag.  Great bag at a decent price with really fast turn around and a huge selection of fabrics and patterns to choose from.